Ah, Winter! You’re still here…

February is one of the toughest months for me – and I am sure others would agree with me on this one! By February I am just over winter. I don’t want to bundle up anymore, the sight of snow makes me want to cry, and I find myself googling tropical vacations because I have the itch to just get out of the frozen tundra I call home! Yes, February can be brutal, but thankfully there are things like this delicious Chunky Two Bean Chili with Quinoa that helps warm me up and even brightens my day just a little bit!

I love making a big batch of chili on a Sunday or Monday night and then enjoying the leftovers all week! Makes meals super easy and lunch packing a breeze, plus the longer this chili sits the more the flavors begin to meld and the more delicious it becomes!
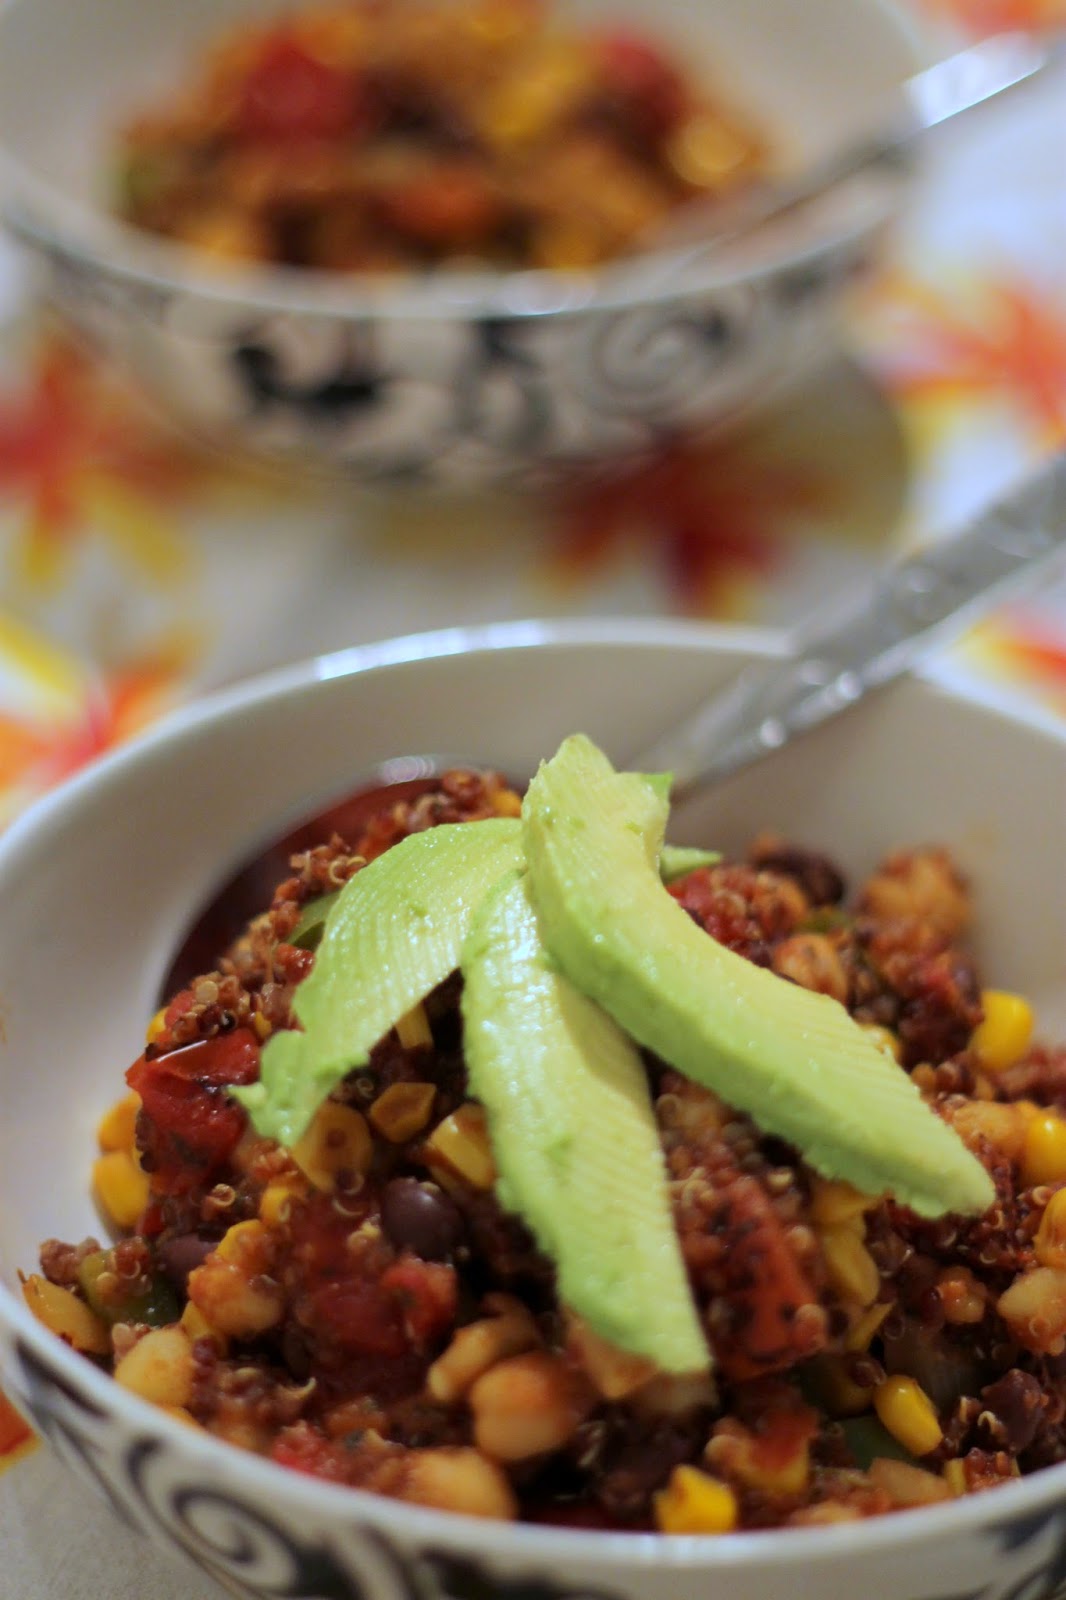
Chunky Two Bean Chili with Quinoa
Brunch N’Cupcakes
Serves 6-8
Ingredients:
1 – 15 Ounce Can Chickpeas (Drained and Rinsed)
1 – 15 Ounce Can Black Beans (Drained and Rinsed
1 – 15 Ounce Can White Hominy (Drained and Rinsed, I used Bush’s Brand)
2 – 15 Ounce Cans Fire Roasted Tomatoes (Un-drained)
1 – 15 Ounce Can Sweet Corn – No Salt Added (Drained and Rinsed)
½ a Large Onion Roughly Chopped
½ a Large Green Pepper Roughly Chopped
½ Tablespoon Chili Powder
1 Tablespoon Ground Cumin
1 Tablespoon Curry Powder
1 Tablespoon Garlic Powder
½ Cup Dry Quinoa – Prepared according to package directions
Directions:
1- In a large soup pot coated with cooking spray sauté onions until fragrant and translucent. Add in green peppers and sauté until tender.
2- Stir in beans, hominy, corn, un-drained tomatoes and spices.
3- Bring to boil. Once chili is boiling reduce to simmer and cook for 15 minutes. Stir in quinoa and cook an additional 5 minutes.
**Serve with shredded cheese, avocado slices, chips, Greek Yogurt or your favorite chili toppings!
Enjoy!
More delicious “chili” recipes to get you through February!
Quinoa Chili - Damn Delicious
Quinoa Turkey Chili - Taste of Home
White Chili - Cooking Light
Quinoa Chili - Damn Delicious
Quinoa Turkey Chili - Taste of Home
White Chili - Cooking Light